Microsoft Word
How to Start Writing with Office 365
Feb
If you’re planning to upgrade to MS Office 365, you can follow this tutorial. It provides screenshots of the main items you need to install, and flags steps that can be easy to miss during the actual installation.
In the following tutorials, we look at how to write, edit, and format MS Word documents using the new Office 365 suite. We’ll also Excel, PowerPoint, Flow, and Dynamics 365.
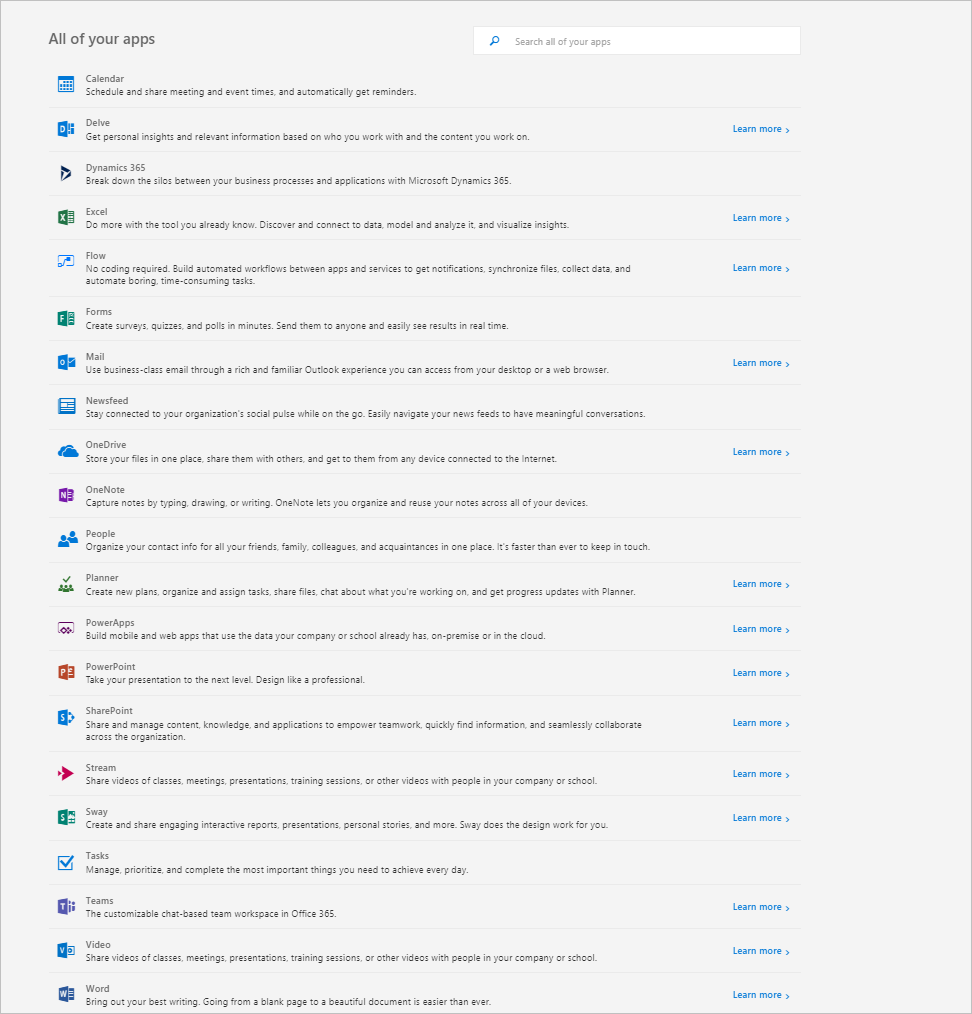
Office 365 Overview of Apps
Office 365 includes the following suite of apps. Scroll down to the Word tutorials.
- Dynamics 365 – design business processes and applications.
- Excel – create, model, analyze, and visualize data.
- Flow – build automated workflows between apps and services.
- Forms – create surveys, quizzes, and polls.
- Mail – use Outlook from your desktop or web browser.
- Newsfeed – setup news feeds.
- OneDrive – store, share, and access files from one place.
- OneNote – type, draw, or write notes.
- People – organize contact info in one place.
- Planner – create plans, organize tasks, share files, and get progress updates.
- PowerApps – build mobile and web apps, on-premise or in the cloud.
- PowerPoint – design, share, and exchange presentations.
- SharePoint – share and manage content, find information, and collaborate.
- Stream – share videos of meetings, presentations, training.
- Sway – create interactive reports, presentations, personal stories, and more.
- Tasks – manage, prioritize, and complete tasks.
- Teams – chat-based team workspace.
- Video – share videos with staff or school.
- Word – write, edit, and format documents.
- Yammer – connect to people, share information, and organize projects.
Office 365 Word Online Quick Start Guide
In the following Office 365 guide, we look at how to write documents using Word Online.
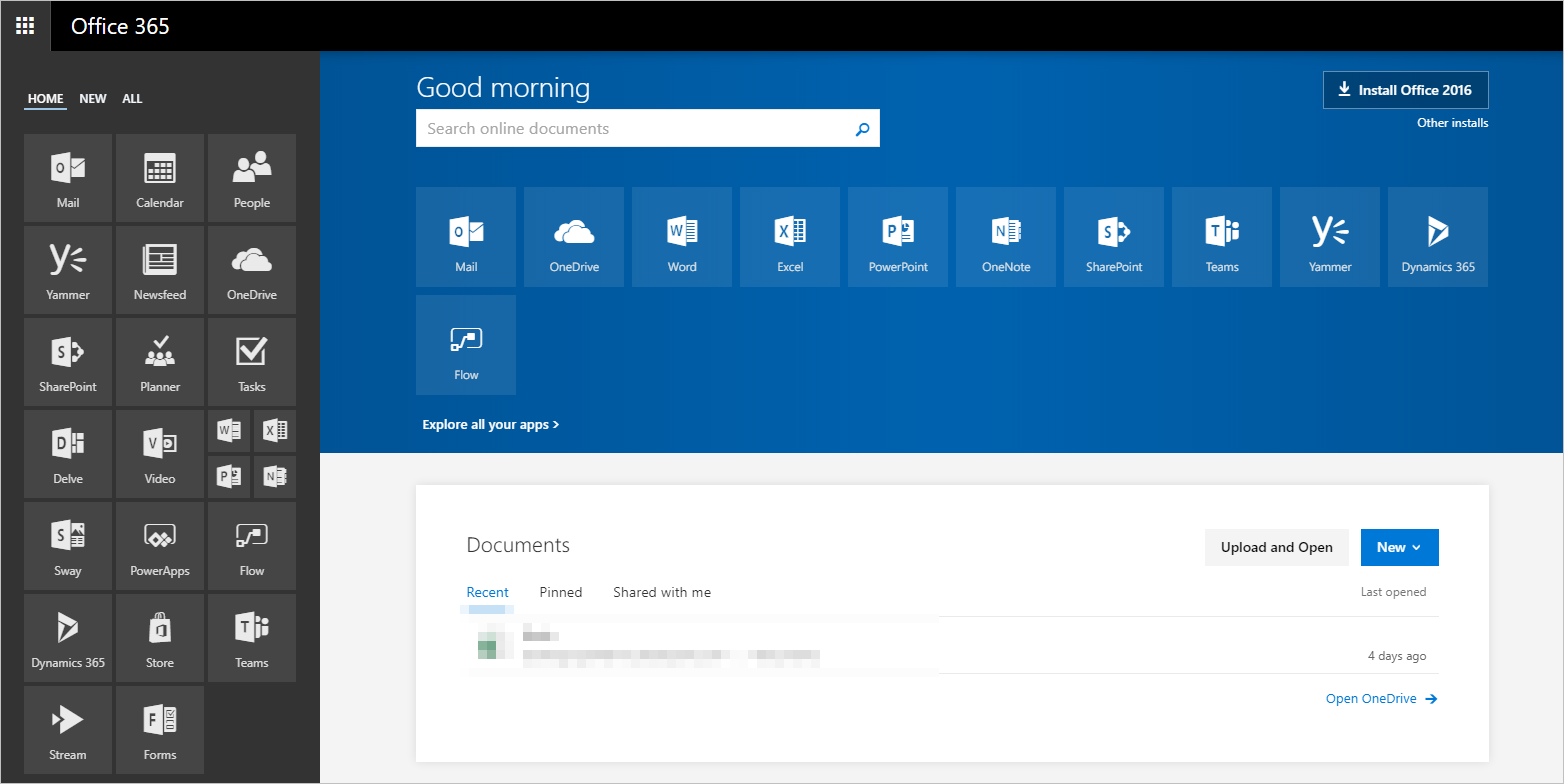
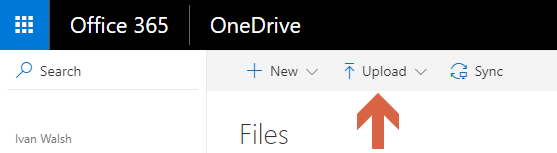
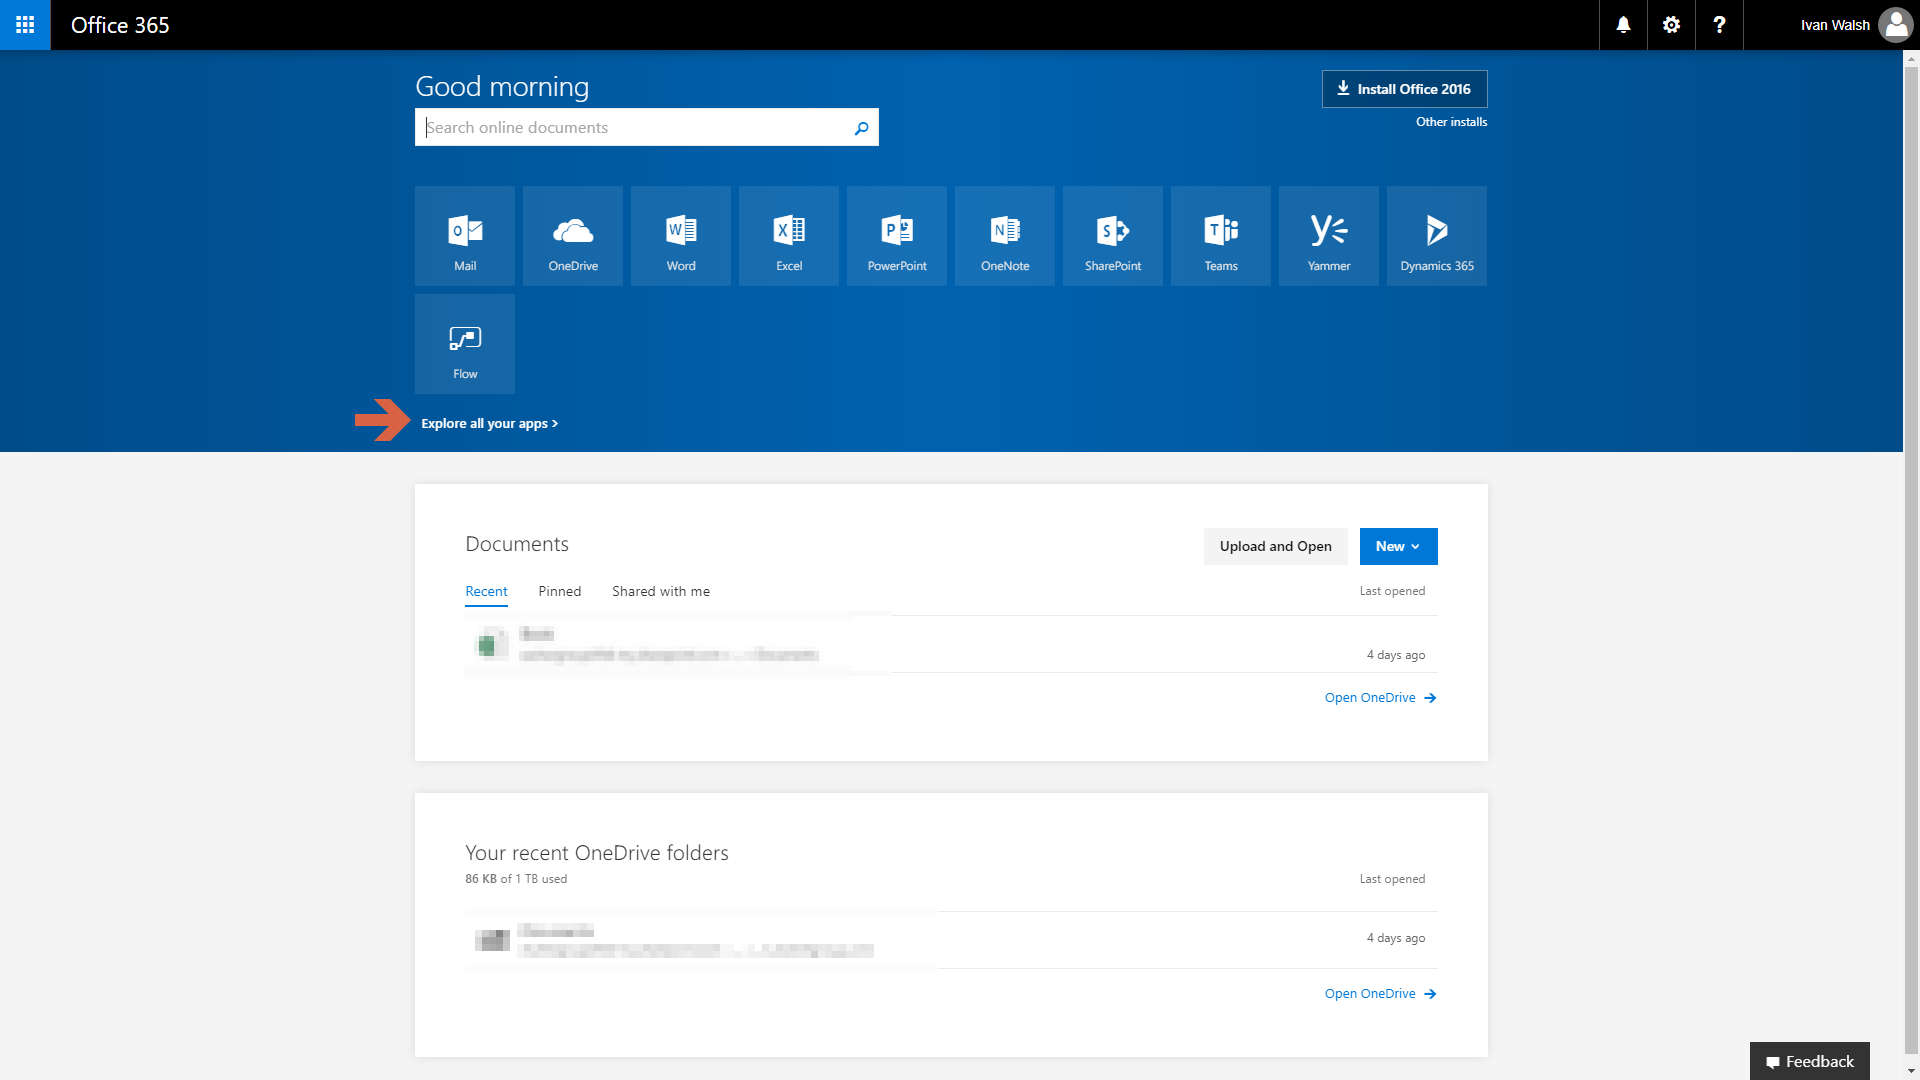
Before you start, you need to sign in to Office.com.
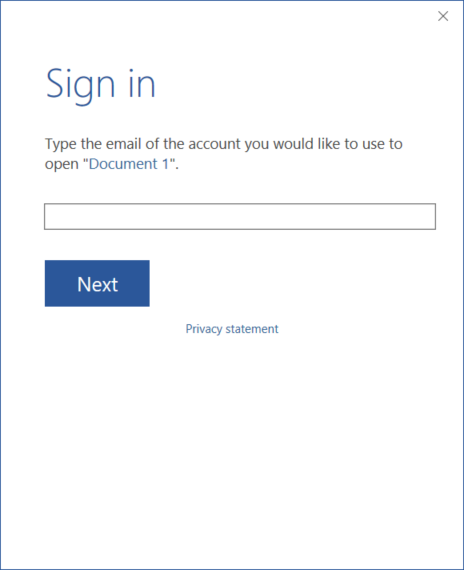
This shows the list of available apps.
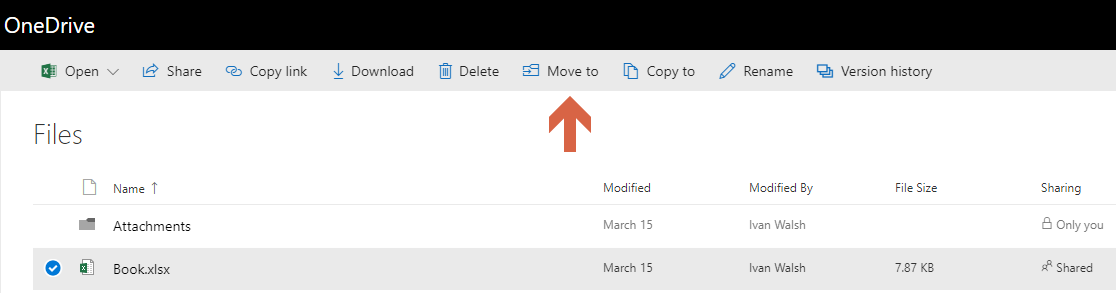
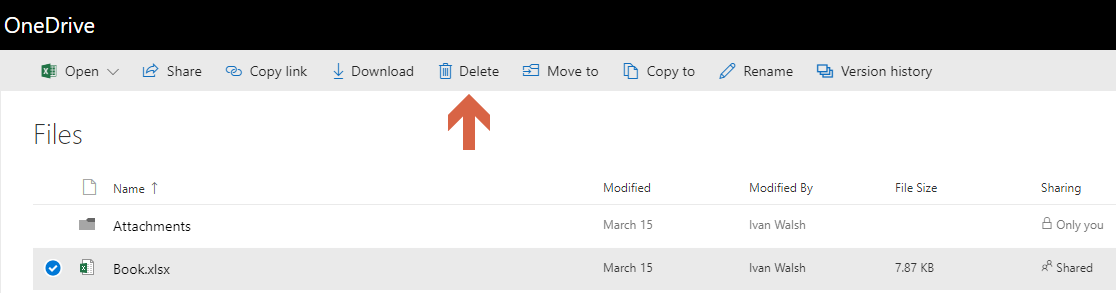
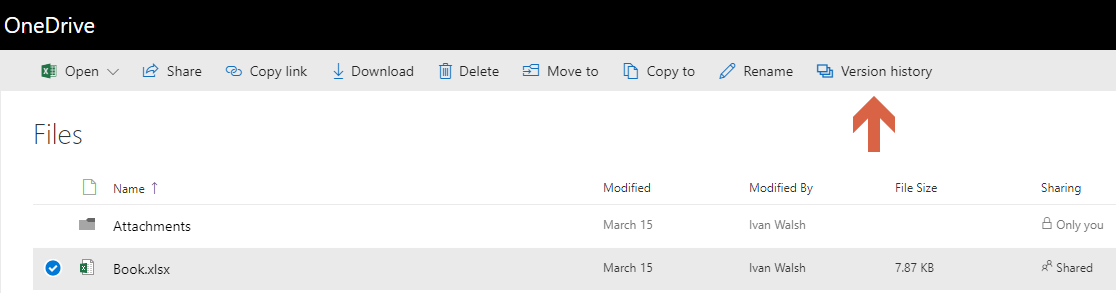
Deleting Documents
To delete a Word document, click Delete on the menu bar.
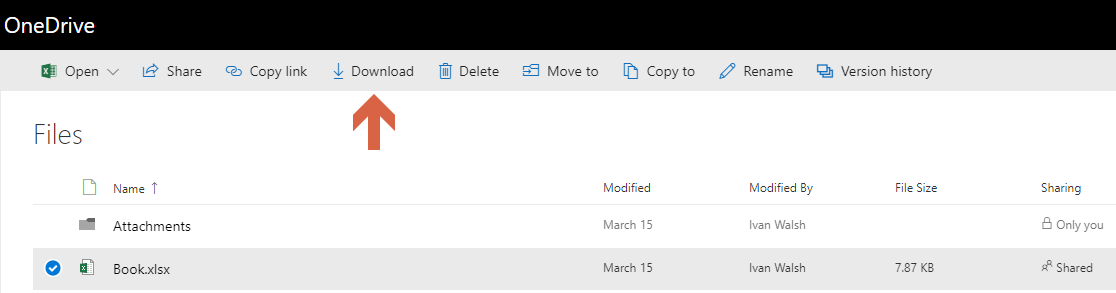
Downloading Documents
To download a Word document, click Download on the menu bar.
Moving Documents
To move a Word document, click Move to on the menu bar. 
Version History
Creating documents
In the following section, we look at how to create document using Word online.
- Create documents to add and format text, images, and page layouts.
- Get documents from your computer, tablet, or phone.
- Write collaboratively online with others.
- Create, open, and rename documents
To get started:
- Sign in to office.com/signin and select Word in the Office 365 App Launcher.

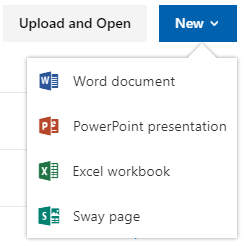
- Select New blank document, open a Recent file or select one of the templates.
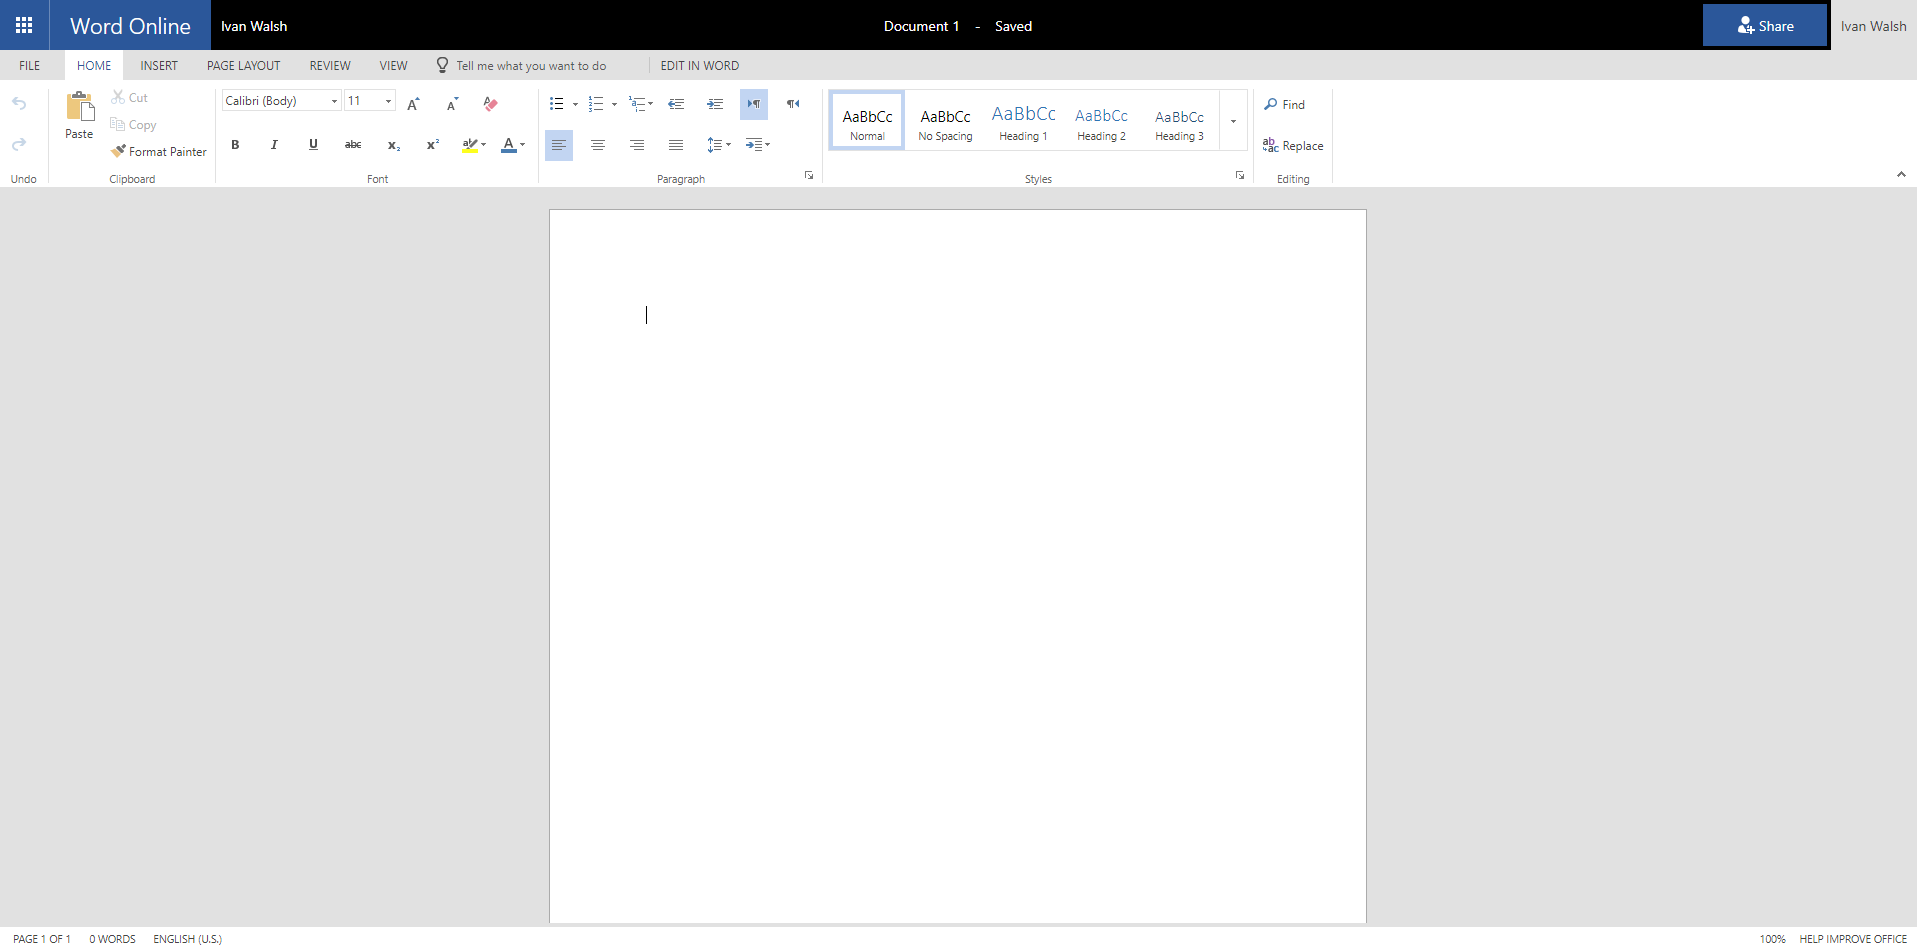
- To name or rename the document, select the title at the top and type a name.
Changes are saved automatically in Word Online. In other words, you don’t have to click Save all the time. It does it automatically in the background.
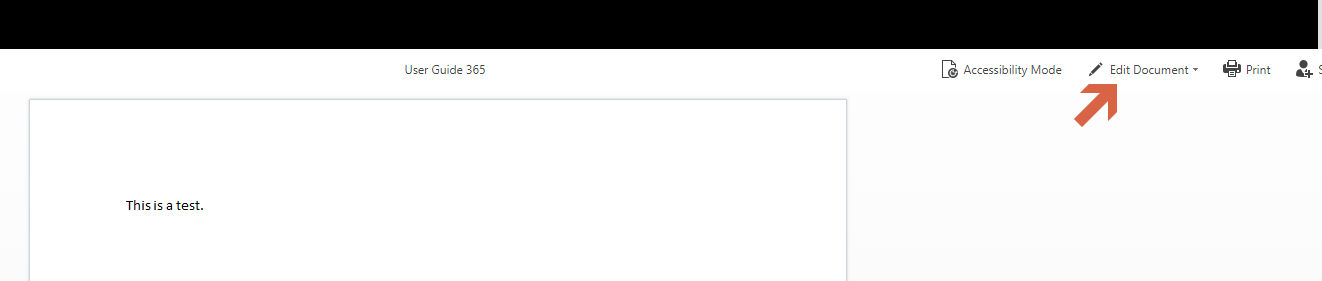
Note: If you can’t edit the file name, you’re probably in Reading View. Select Edit Document, then Edit in Browser.
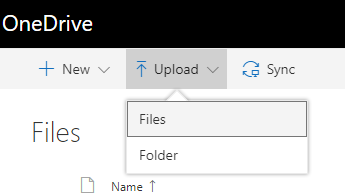
Creating files
- Open a New document.
- Place the cursor in your document, and type some text.
- Select the text and change the:
- Font – font, font size, bold, italics, underline, and color
- Paragraph – bullets, numbering, alignment, line, and paragraph spacing
- Styles – headings, titles, subtitles
Designing and editing
In Word Online, you can create, share, and collaborate on documents in your Internet browser.
- Select the INSERT tab.
- Select what you want to insert:
- Table – select Table and then select the table size you want.
- Picture – select Picture, browse for the picture you want, and select Open.
- Online Pictures – select Online Pictures, select a stock photo or search for an image on Bing, and select Insert.

Check spelling
Word Online automatically checks spelling and shows misspelled words with a red squiggly underline.
- Right-click the misspelled word.
- Select the correct spelling, or select Ignore All.
- Check spelling – menu
Change page layout
- Select the PAGE LAYOUT tab.
- Select what you’d like to change:
- Page Setup – margins, orientation, size
- Paragraph – indent, spacing
- Change page layout
Using Styles
Use Styles to apply a consistent font, font size, font color, and spacing throughout your document.
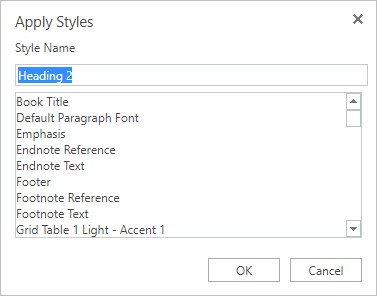
- Select the words, paragraph, list, or table that you want to apply a style to.
- Select the style you want – Normal, Heading 1, …
Adding link
- Select some text.
- Select INSERT > Link.
- For Display text, type the text you want the link to display.
- For Address, enter the URL.
- Select Insert.
- Insert a hyperlink
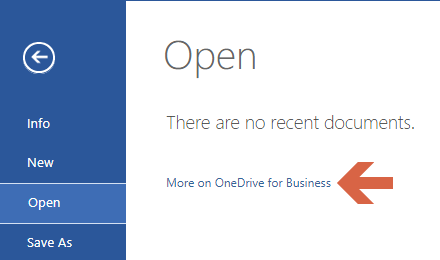
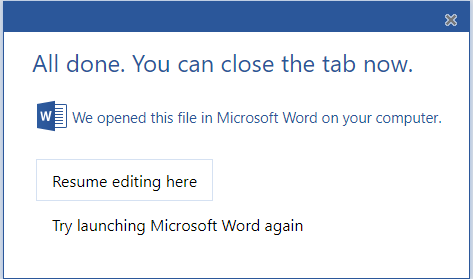
Edit a file in Word desktop
If you need the more advanced features in the Word 2016 desktop version, do one of the following:
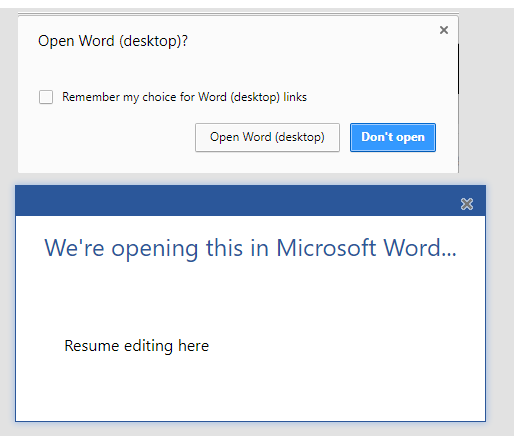
- Open Word 2016, select File > Open, and select the file you want.
- Go to the OneDrive folder on your computer and select the file you want.
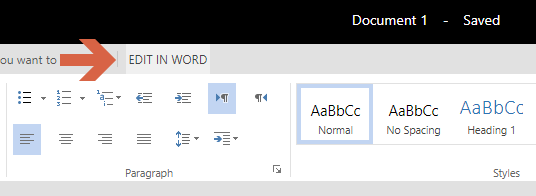
- In Word Online, select EDIT IN WORD.

- In Word Online, changes are saved automatically. In Word 2016, select Save to save changes.
Edit a Word file on your mobile device
- In the OneDrive app, select Files or Recent and then select the file you want to open.
- In the Word app, select Open, select the location and select the file.
- Or select Recent and select a recently opened file.
Share and collaborate
When using Word Online, your files are automatically saved in OneDrive.
- Select Share.
- Select who you want to share with from the drop-down.
- Allow editing is automatically checked. Uncheck this if you only want to give permission to view the file, not edit it.
- Select Apply.
- Enter the names or email addresses of who to share with.
- Add a message (optional).
- Select Send.
After you share your document, you and others can work on it at the same time.
To see changes in real time, work together in Word Online.
- Under Share, you’ll see who is also editing the file.
- Colored flags will show you exactly where in the document each person is working.
- Color flag in Word Online as you co-edit
Adding comments
- Select REVIEW > New Comment or
- Right-click in your document and select New Comment.
- A Comment bubble appears in the document where there’s a note.
- Type a comment and select Post.
Replying to Comments
To reply to, complete, or delete a comment
- Select Reply to comment.
- Select Mark as Done.
- Select X or REVIEW > Delete Comment.
Review comments
- Select Show Comments to display all comments in a document.
- Select Previous or Next to move between comments.
Chat in a document
If another person is editing the file at the same time, you can chat with them.
- Select Chat.
- Type a message and press Enter.
- The conversation will not be saved when you close the file.