MS Word
How to Create a Drop-Down List in MS Word (With Screenshots)
Let’s look at how to create a drop-down list in MS Word
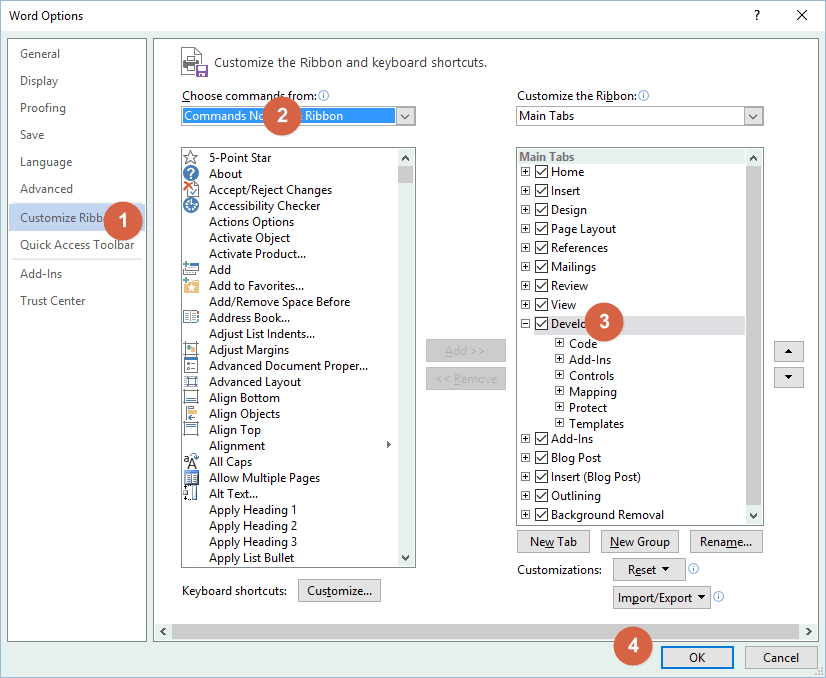
Before we start: If you don’t see the Developer tab, click File, Options, Customize Ribbon, and select Developer.
How to Create a Drop-down List – Short version
- On the Developer tab, in the Controls group, click the Drop-Down List
- Select the content control, and then on the Developer tab, click Properties.
- To create a list of choices, under Drop-Down List Properties, click Add.
- Repeat until all choices are in the drop-down list.
How to Create a Drop-down List – Longer version
- Click anywhere on the document. You can move the drop-down list later.
- On the Developers tab, click the drop-down list control. In the Controls section, look for the icon to the right of the check box and under Aa. This adds the control to your page. It looks greyed-out and has be default Select an Item
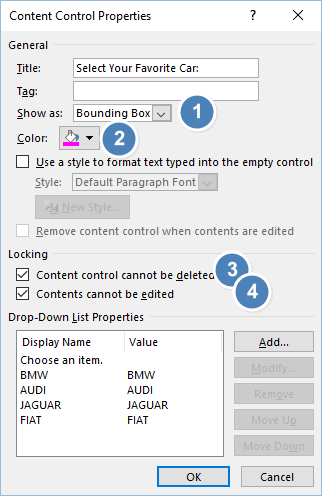
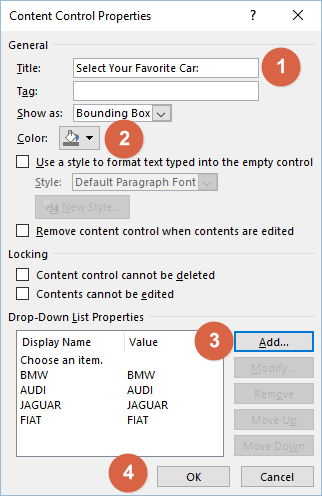
- Click Properties, also in the Controls This opens the Properties window.
- In Title, add the name of the list, for example, Document Status.
- Select a color for the border.
- Apply a style if you want.
- Go down to the Drop-Down List Properties section (lower part of window) and click Add.
- Add as many as you want, for example, Draft, In Review, Final. In this example, I added some of my favorite cars.
If the list has blocks on both sides of the text, click Design Mode to turn off this setting.
How to Change a Drop-down List
To change:
- The color of the text, right-click on the control and change the font, color, size and so on.
- The position of the control, right-click and change the paragraph settings.


